Skip to content
Rechercher

Cart

Your cart is empty

Explore our products
Out of stock
Aplastics rcRef. GMC

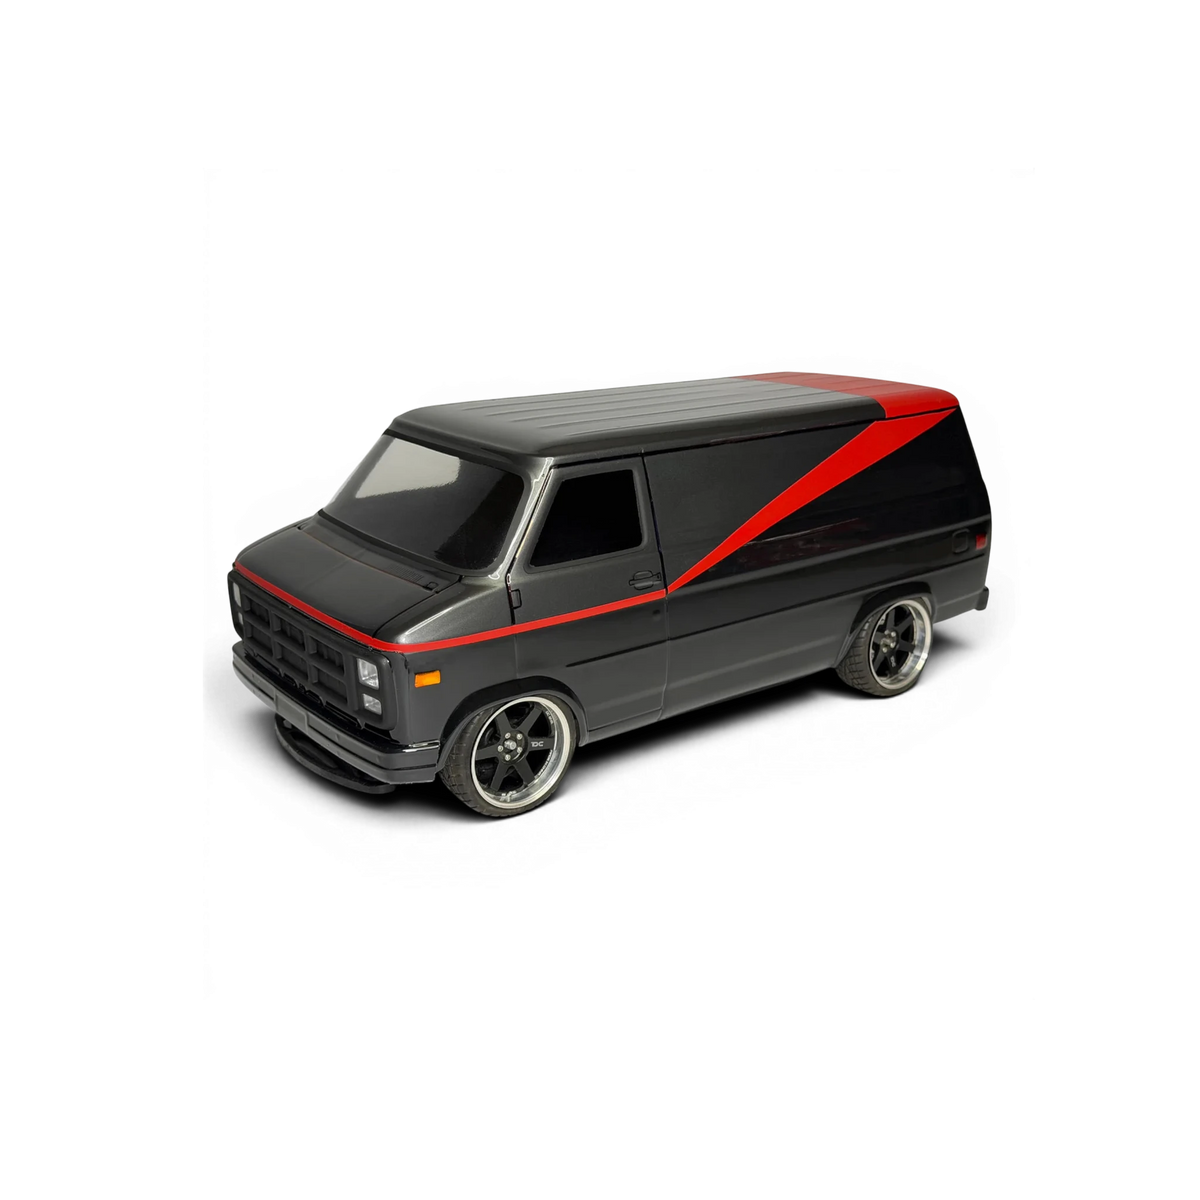
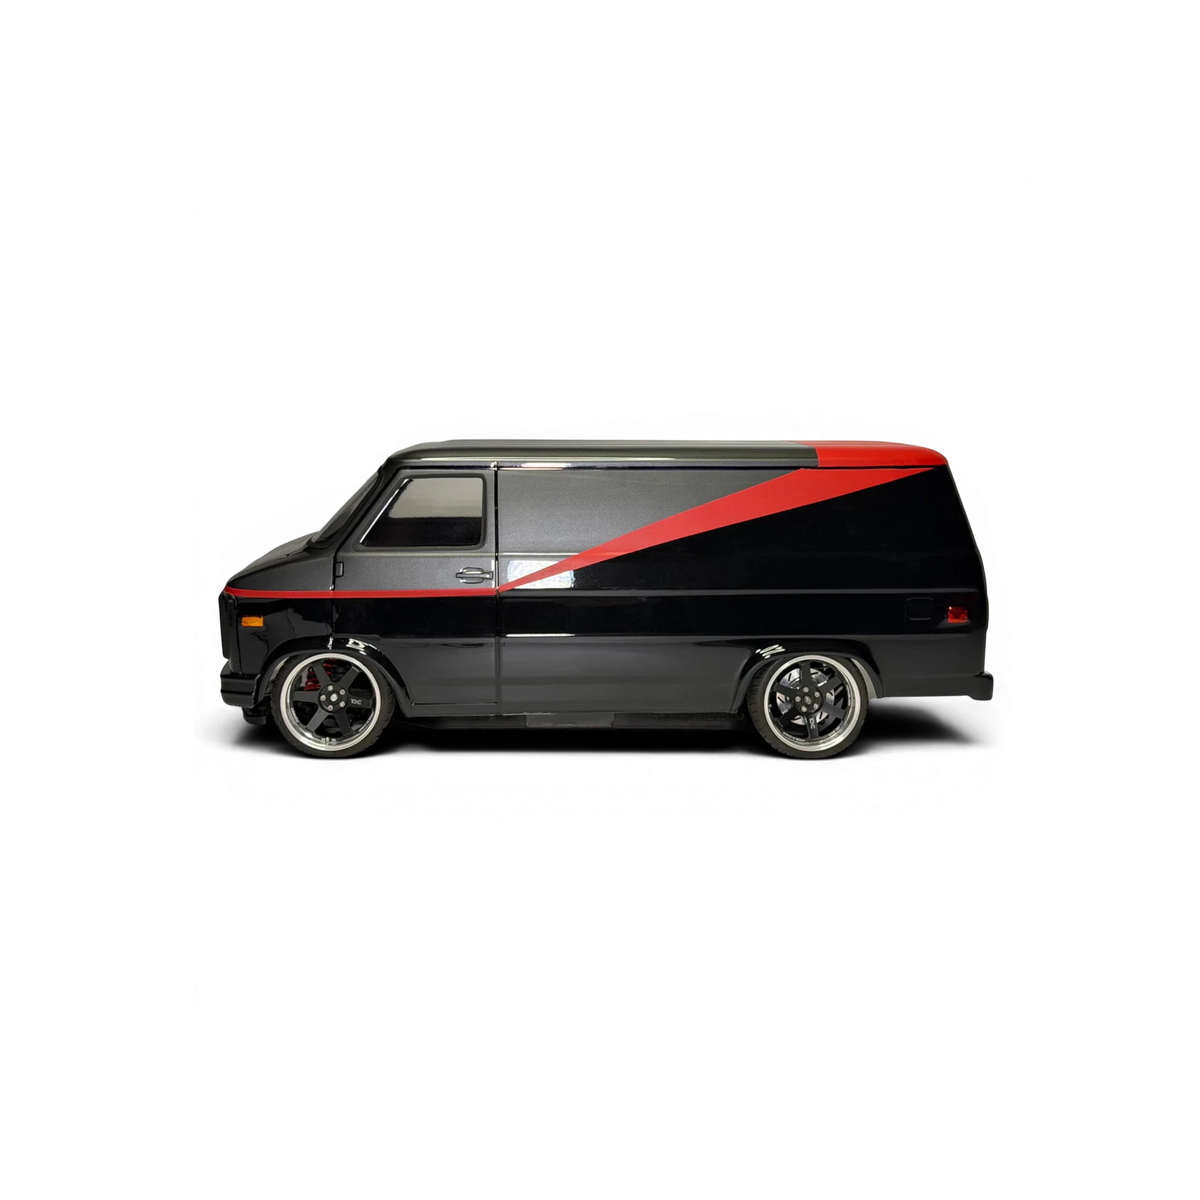
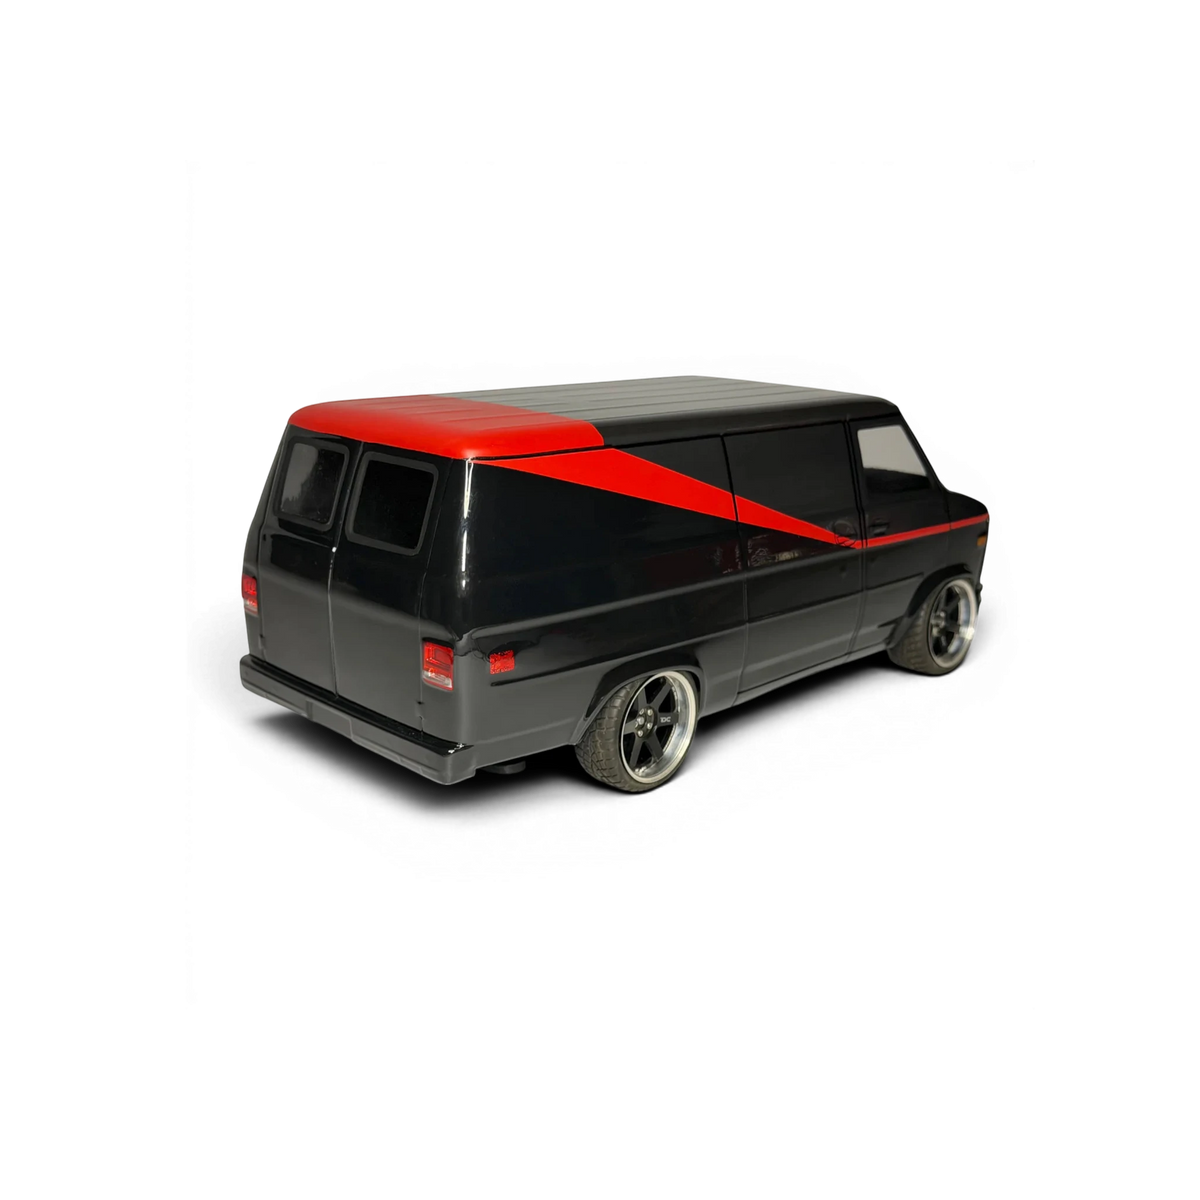
1983 GMC Vandura body

Sale price52,90€

The APlastics GMC Vandura 1983 faithfully reproduces the famous American utility vehicle from the 1980s in 1/10 scale. With its iconic boxy silhouette, wide body panels, and realistic proportions, ...

Description

TheAPlastics GMC Vandura 1983 faithfully reproduces the famous American utility vehicle from the 1980s at scale1/10. With its iconic boxy silhouette, wide body panels, and realistic proportions, it makes an excellent base for creating a retro van, a show vehicle, a customized utility vehicle, or a project inspired by the 1980s.

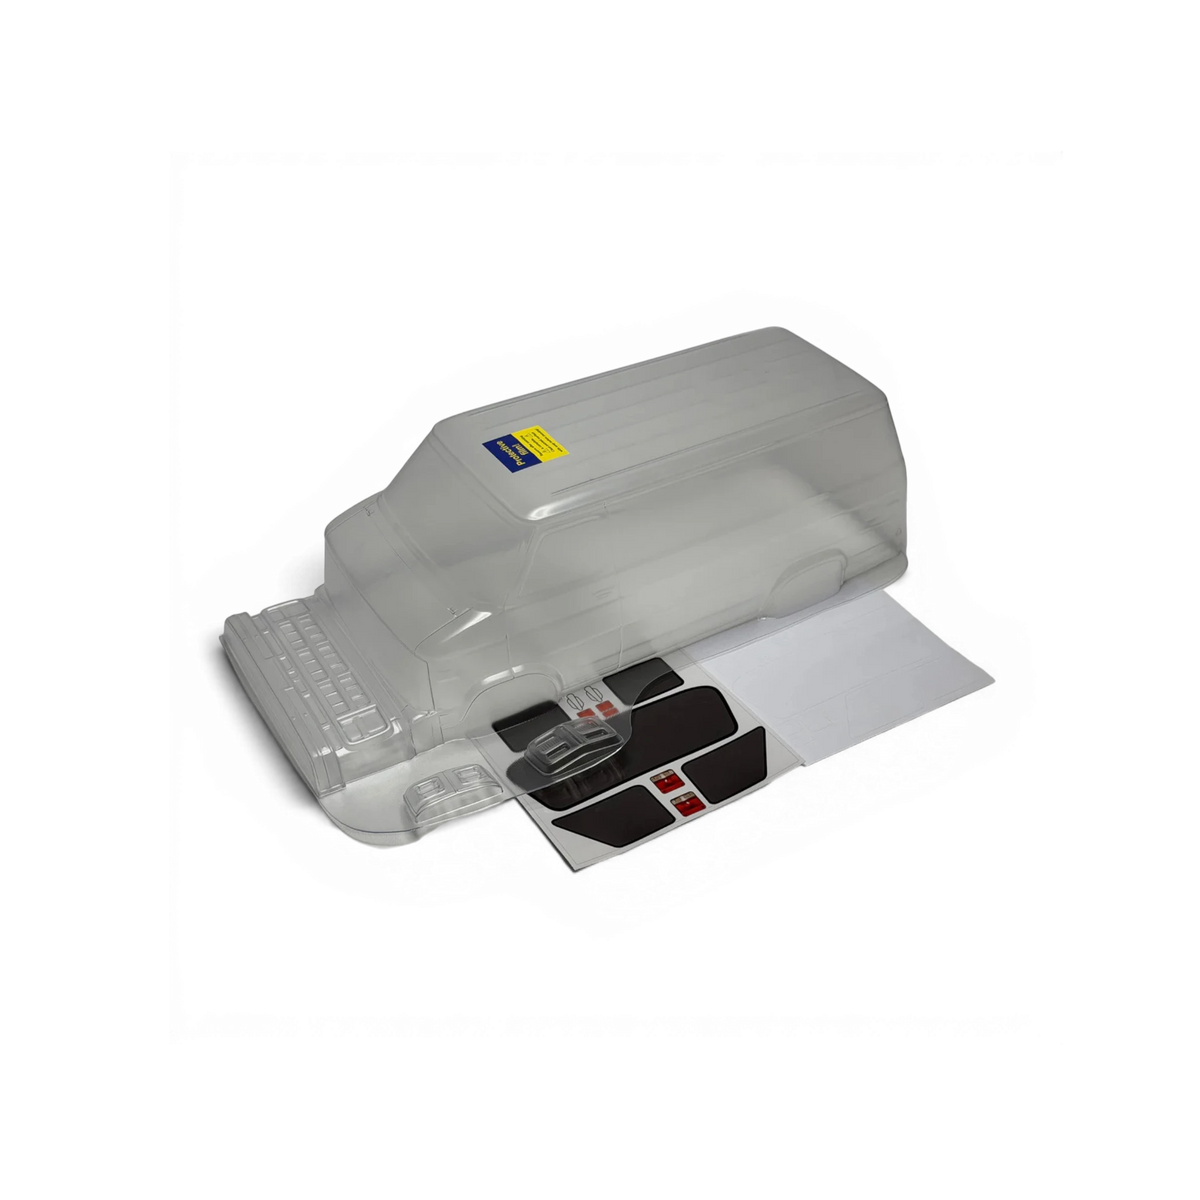
Made fromLexan (transparent polycarbonate) of high quality, this body combines lightness and durability. Supplied unpainted, it allows complete customization according to your preferences. The carefully molded details and included headlight buckets provide a particularly realistic finish.

Spécifications technique
  • Length : 430 mm
  • Width : 200 mm
  • Height : 145mm
  • Wheelbase : 259 mm
Inclus

• 1 clear body shell
• Front and rear headlight buckets for LED installation
• Window masks
• Sticker sheet

Not included
  • Paint
  • The chassis
  • The wheels
  • Accessories such as : mirrors, exhausts, wipers, etc.
Product specifications

The body has bumpers or other separate elements for higher-quality molding and to avoid mold marks, unlike one-piece bodies molded with 3-part molds. For assembly, you will simply need to glue these parts on after painting using body glue available on our site.

How to make a body shell?

Making a body shell for a radio-controlled (RC) car can be an exciting project. It allows you to customize your vehicle to your taste. You will need some supplies and a bit of patience. Here is a step-by-step guide on how to make an RC body shell :

Materials needed :

  1. Polycarbonate/Lexan RC body shell
  2. Special polycarbonate spray paint TAMIYA or Createx airbrush paint available on the driftparadiz.fr website
  3. Masking tape
  4. Modeling scissors
  5. Cloth and dish soap or body cleaner TAMIYA

Steps :

  1. Preparation : Start by cleaning the polycarbonate body shell with a soft cloth and dish soap or Body cleaner TAMIYA to remove any oil or dirt. Let it dry or use a hair dryer, never use a cloth as it may leave residue inside the body shell.
  2. Masking : Use masking tape to cover the areas you do not want to paint right away. You will need to paint in layers, starting with the smallest and lightest details.
  3. Painting : Remember that you are painting on the inside of the body shell, so the design must be done in reverse.Once you have finished masking, you can start painting. Make sure to shake the paint can properly before using it. Spray the paint in thin, even coats. Do not try to cover everything in a single coat. It is better to apply several thin coats rather than one thick coat. After painting an area, remove the masking tape while the paint is still wet to avoid tearing the paint.
  4. Drying and finishing : Let each coat of paint dry completely before applying the next coat. Once you have finished painting and the paint is completely dry, you can remove all remaining masking. Then you can trim and mount the body shell on your RC car.

Remember that making an RC body shell requires patience and practice. Do not hesitate to experiment with different painting and design techniques to achieve the look you want.

Out of stock

Free shipping from €150 purchase in France

Personalized after-sales service

Tracked parcel

Secure payment

Earn 52 points by purchasing this product

Do you have this product ?


Notification Channels